Here's what you'll need:
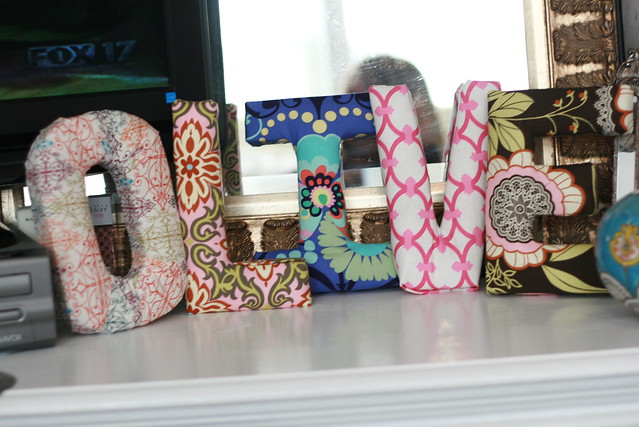
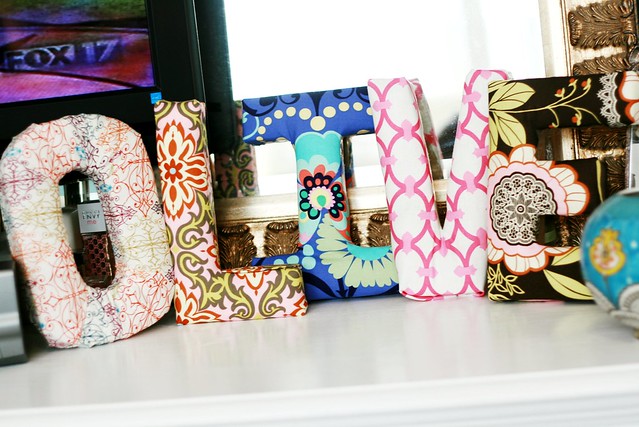
-The letters: I bought the cardboard letters from Joann's. I'm sure you could get them at hobby lobby too.
-A hot glue gun and LOTS of hot glue sticks
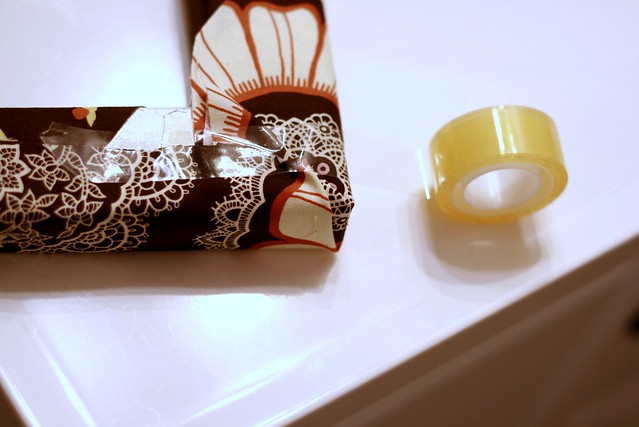
-Scotch Tape: in case your fingers get tired of being burned by the hot glue- opt for the tape. :)
-Fabric: I just used some scraps I had left over from past projects and I bought a couple of fat quarters from Joann's. You will need less than a quarter for each letter.
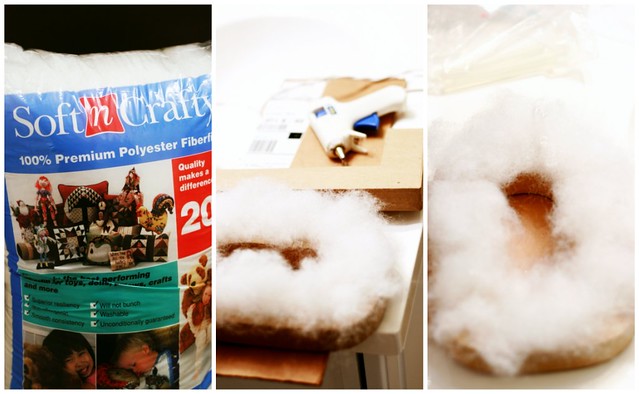
-Fiberfill
-Backing: Now, because Anthropologie uses corduroy on their letters, I was set on using that as well. My mom suggested using felt. If you want to save yourself some time and money, go for the felt. If you're like me and are committed to using the corduroy (for part of the letter that no one will ever see:)) then here's what you'll need: corduroy fabric (I used several different colors) and fusible interfacing.
Step 1:
Hot glue fiber fill to the front of your letter.
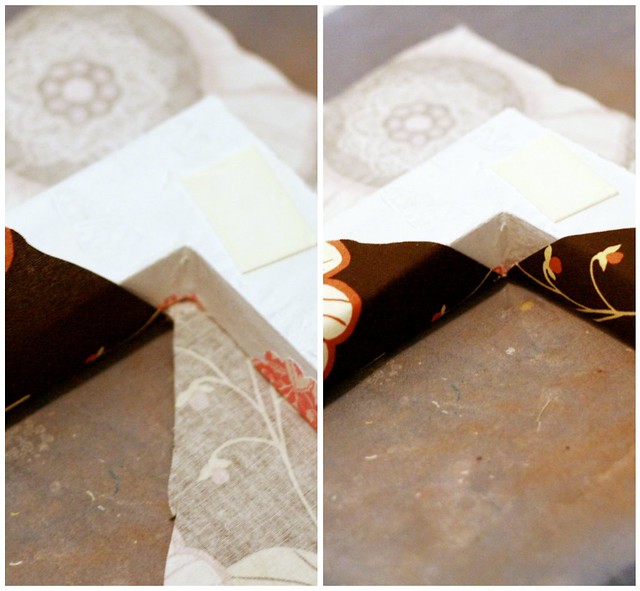
Step 2:
This is the most difficult part: Place your fabric on top of your letter and begin pulling it around towards the back. This will require some cutting around the corners. You'll see this is where I opted for the scotch tape to secure my fabric on the back.
Step 3:
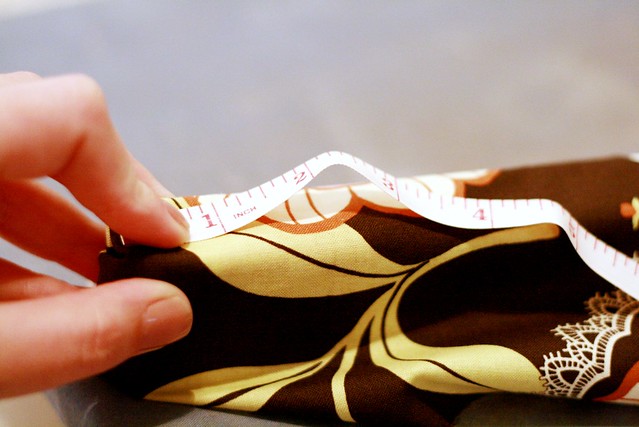
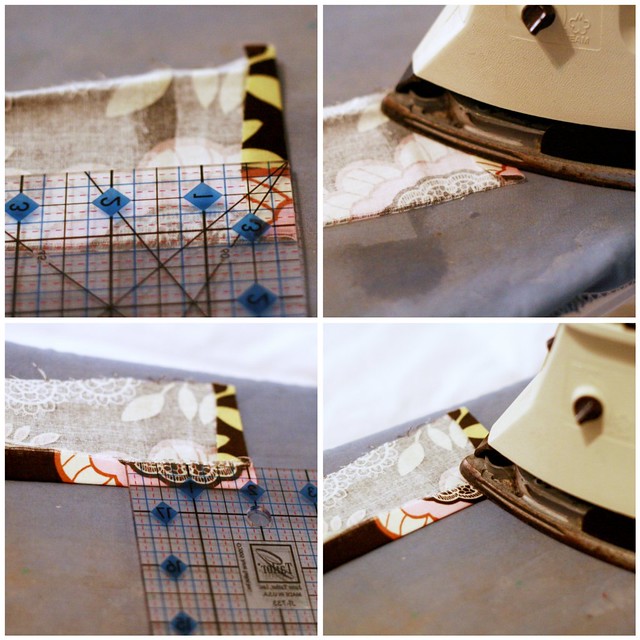
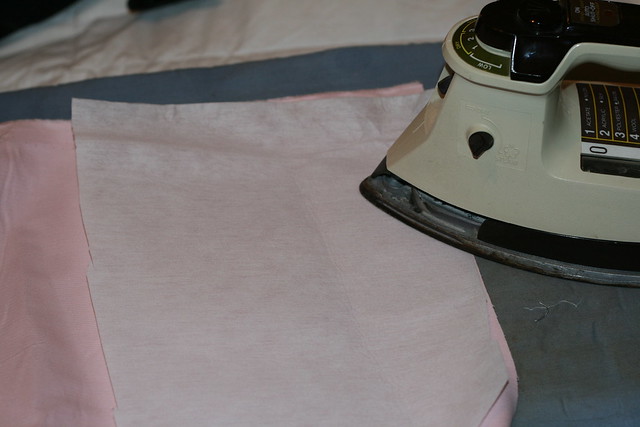
You'll notice your fabric didn't quite cover up the sides. That's ok. You'll need to measure the length of the side, cut a strip of fabric 1/2 inch longer, iron each end under 1/4 inch.
Step 4:
You'll iron one side of the fabric under 1/4 inch. (Please excuse the look of my crusty old iron, it's the best and I just can't get rid of it).
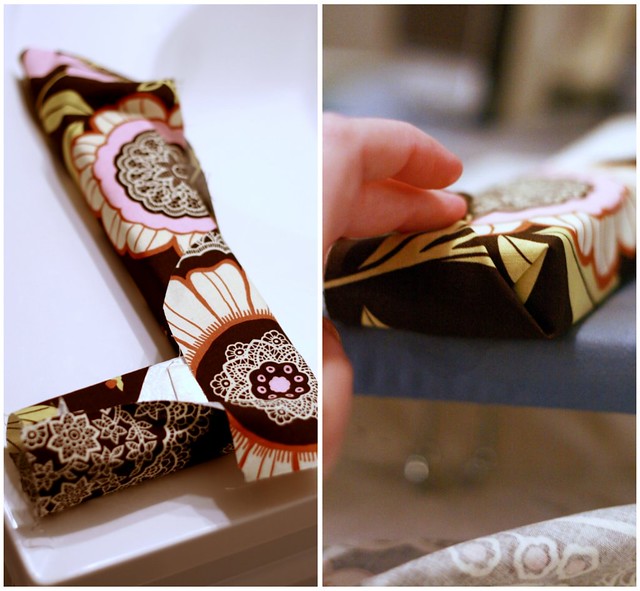
Step 5:
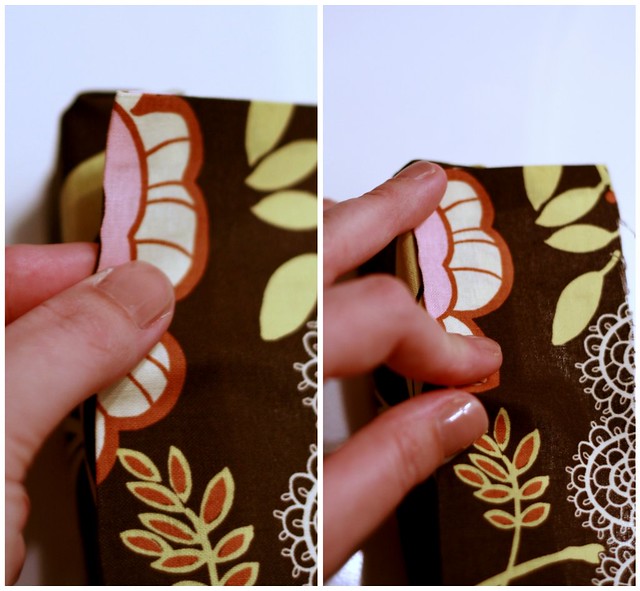
Hot glue the sides you just made onto the letter, then glue it to the back.
Step 7: (If you opted for corduroy-if using felt skip to step 8)
Iron your fabric onto your fusible interfacing.
Step 8:
Trace your letter onto the felt or the interfacing.
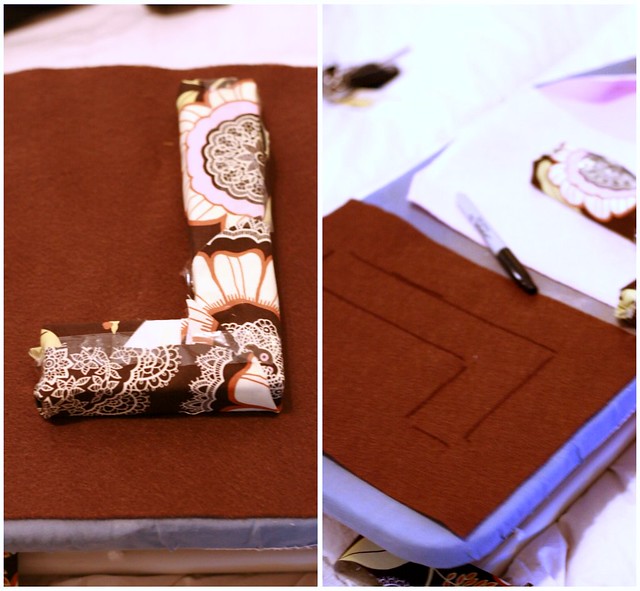
Step 9:
Cut out your letter from felt/fabric.
Step 10:
Hot glue your felt/fabric letter onto the back of your cardboard letter (to cover up the mess).

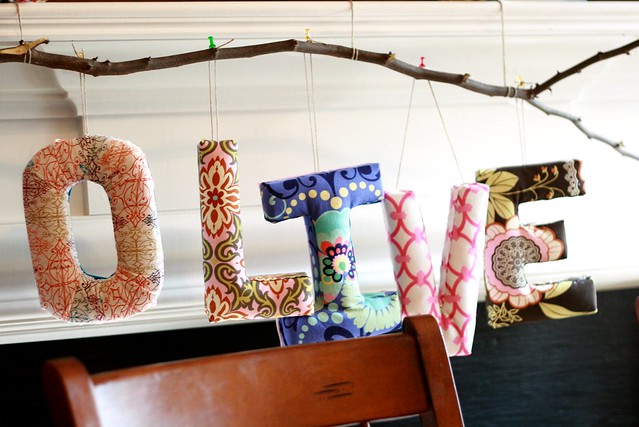
All done!